Before using DDNSFlare, you need to log in to Cloudflare to get your personal Global API Key. To get it, open https://dash.cloudflare.com/profile with your browser, log in, find the API Keys at the bottom of the page, and click on Global API. Click the View button to view the key.

The first time you run (Installation)
.Net Framework 4.5 or later is required to use this program. Windows 8/Windows Server 2012 and above comes with .Net Framework 4.5 or later, which may need to be activated in the Control Panel/Server Manager. Windows 7/Windows Server 2008 R2 and lower needs to install it before they can use the program. You can search for the detailed installation instructions on the Internet. For users of Windows 7/Windows Server 2008 R2 and lower, if the system is not updated with security patches, you need to install the patches that support TLS v1.2, please search for the installation method online.
As the program will automatically add itself as a Windows service on the first run, please place all files in the desired directory before running the exe file for the first time. If you need to move the files to a different location later, perform the following steps to remove the service (uninstall), then run the exe file again in the new directory.
In order for the program to be automatically added as a Windows service, please start the exe file as an administrator at runtime. If you see the message “Installation failed, rewind has been performed. when you run the program, it means that the program has not been started as an administrator and does not have the permission to be automatically added to Windows services. This may cause the program to close the window and then not be able to update the IP address in the background.
Without system administrator privileges, the program will not be automatically installed as a service and the IP address will not be updated properly. The program window is only used as the configuration interface, and keeping the window open will not update the IP address, please close the program window after the setting is finished, and check whether the program is running in the background in the task manager. The IP address will be updated only if the program is in background mode. After the service is installed automatically and correctly, the program will automatically start up with the system startup and run in the background.
Delete the program service (Uninstall)
To remove the Windows service of this program, run the UninstallService.bat file that comes with the program.
Login
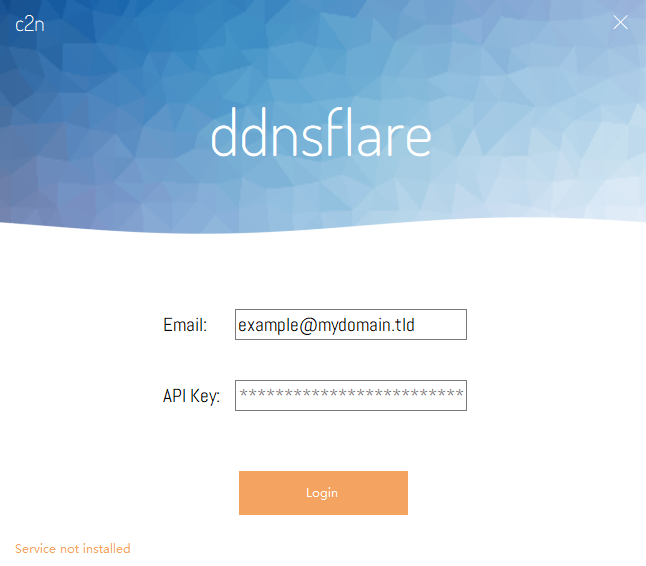
To run DDNSFlare, you need the Global API information of your account. After you have entered that, just click login.
Configure DDNS
After successful login, you will see your domain names.
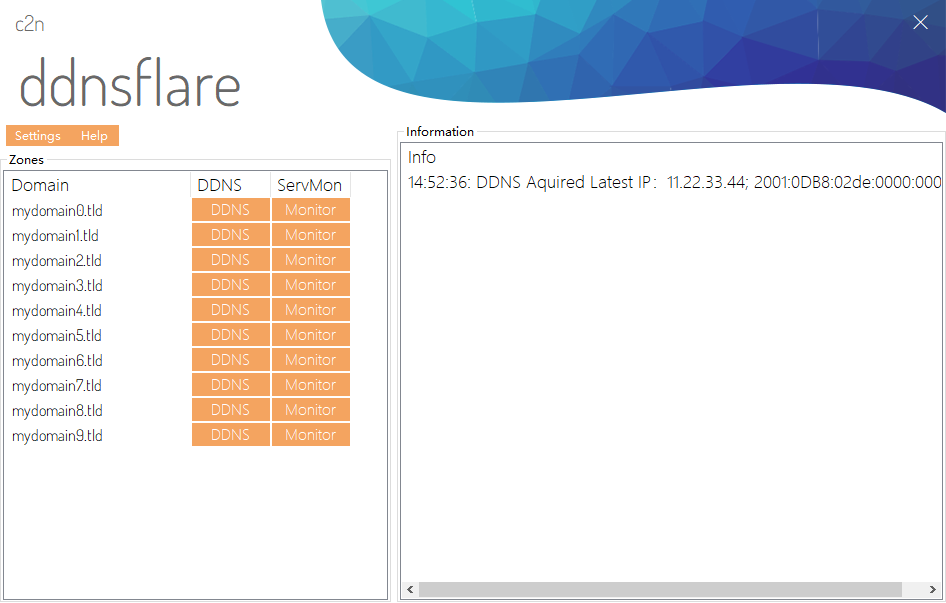
After clicking on the DDNS button on the right side of the domain name, a new window will appear with the sub-domain records of the domain name.
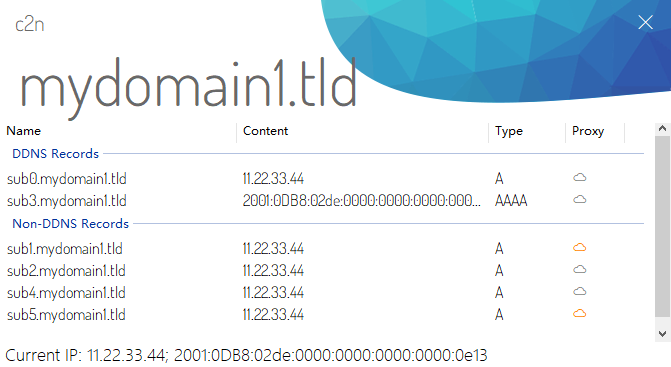
Here you can find the domain name record, IP, record type and whether or not Cloudflare CDN is enabled. if the domain name record is enabled Cloudflare CDN is displayed as ☁, if it is straight through the CDN is not enabled is ☁. (The just-updated IP may be temporarily unenabled because the server thinks it has not yet re-cached the new IP content.)
Records are divided into DDNS records and Non-DDNSrecords. Non-DDNS records are records that do not have automatic IP update enabled. If you want to enable dynamic IP update for a record, you need to right-click on the record and select Enable DDNS. The record’s IP will be updated automatically with client IP changes. On the other hand, if you want to stop the automatic IP update of a record, just right-click the record and select Disable DDNS.
Binding network card (multiple network cards)
(Not functional yet) If you have multiple NICs, you can select one NIC as the source for dynamic IP updates. Click on the menu bar at the top of the main interface of the control panel and select the network card settings to bind the network card.
Push notification
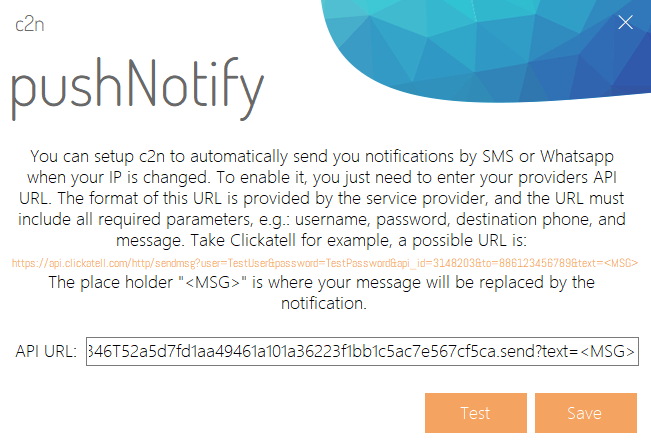
DDNSFlare can push a message when IP changes. You can configure your push notification or SMS service API. Currently it only supports GET-method API. You need to use the placeholder <MSG> in your URL-API, which stands for the notification message and will be replaced by DDNSFlare when sending notification. You can also use your own webserver as an API-proxy and enter the corresponding URL of your webserver. Then your webserver can forward the message by using any type of API of your choice.
Downtime monitoring
After successful login, you will see your domain names.
Click on Monitor on the right side of the domain name and a new window will appear with the sub-domain records of the domain name.
In the window, you can see the domain record, IP address, record type and other information.
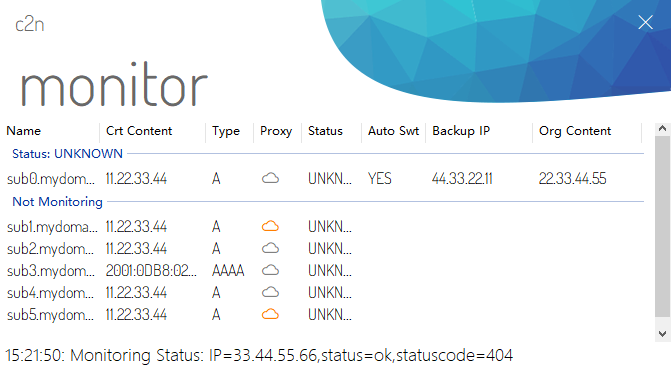
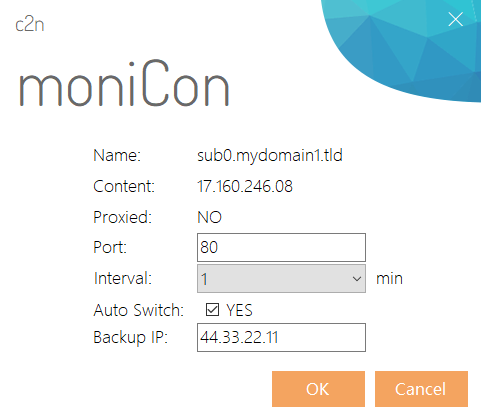
Right click on the record to enable monitoring, and then you can set the option to monitor and switch IP address. You can right-click to stop the monitoring and view the monitor graph/diagram for the enabled records.
